Really though, I should adjust the seo in that url. The slideshow is a result of patterns I've drafted for another designer's collection. I've got 3 collections of my own I should work on. However, for the moment I've been working on my first, self designed portfolio piece, the lemon tulip lingerie design. Yesterday I was able to sew the skirt sections together, using beautiful french seams, and attached the hem facing to it's scalloped edge then clipped and understiched the seam. Then I sewed the bodice sections together and pinned on the neckline facing. Here are the pictures:
 |
| clipping the scalloped facing seam |
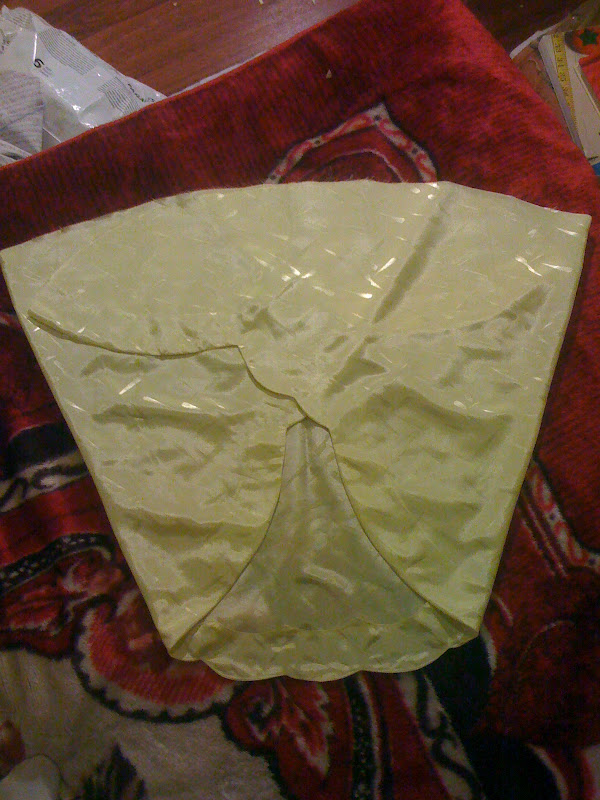
 |
| right side of the skirt's scalloped edge |
 |
| pin the corners of your scalloped facing to match correctly |
 |
| didn't have the right pressing equipment to do a professional job, however, by using the tip of the iron and making tiny pressing movements the resulting scallop edge turned out very nicely |
 |
| My first french seam, such a beautiful seam, it is time consuming though, extra pressing is required and seam trimming. One of my books suggested to sew the first seam 1/4" press, close and sew it into another 1/4" seam, this would have been messy though. With a little more research in two other sewing books, you clip the seam to 1/8" and then sew it into a 1/4" seam, this is the correct way. |
 |
| the completed skirt section, ready for gathering into the waist band |
However, as nice as the sewing is going, I've discovered a 'lack of experience' issue with the drafting of the midriff area of the bodice, it's got more ease than I meant for it to have. Now I know a secret I have to learn more about (I actually love this kind of thing) Here it is:
When you do a typical draft of a regular shoulder to waist pattern, there's a little bit of ease at the waist unless you take it out and it will fit nicely. But... if you draft a bodice pattern that reached down some where below the bustline, you'll discover that due to the inverse curve of the human body in that area, there's quite a bit more ease than you'd like in a garment that supposed to be close fitting. This is a very important detail to know, especially if you want design or draft patterns for empire waist garments, midriff designs or bras. I probably would have learned this had I gotten my hands on the lingerie pattern drafting book I want to get.
Anyway, my bodice ends just under the bust and I'm going to do a double check to see if I need to adjust the entire side seam or just the underbust edge. If so I'll determine the amount to take from each side seam at the underarms and then check how much more needs to be taken up at the midriff edge. What ever needs to be taken up at the midriff, I'm going to divide by 6, with an amount taken up by each of the 4 darts (2 in the back and 2 in the front) and an amount at each side. (Mind you, pattern wise, it'll look like I only took half the amount from the side seam).
Then I'll have to adjust the midriff band accordingly as well as the bias cut tulip sleeves and take all the adjustments to my pattern in CorelDraw 9. I'll complete that with some fitting notes for lingerie. It will help to crystalize all the information.
As for the skirt fit, I'm pretty sure it'll be fitting like I want, since it's at the waist and all, I just hope it's going to have a bit of puff I was hoping for, we'll see.
If you'd like to read more about fashion, information on the industry and online schools check out my site at:
If you're a designer or home sewer and you'd like to find some cool eco-friendly fabrics and more check out my resource page at:
No comments:
Post a Comment
Please feel free to leave a comment, I'd love to hear from you :)